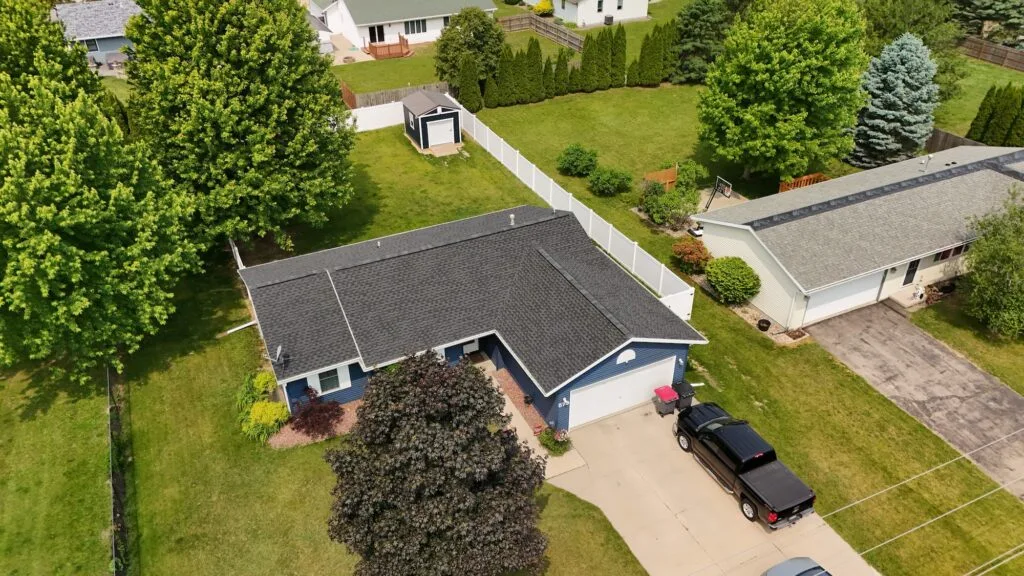
Yes, for many problems. Most common issues are visible from the ground with binoculars: wavy or uneven shingle courses, exposed or raised nail heads, sloppy ridge cap, missing drip edge, pipe boots held together with caulk, and cracked or torn shingles. The hidden work (decking, ice and water shield, underlayment, flashing) gets verified with photos taken during the job. Stay off the roof. Walking new shingles can scuff granules loose, and ladder and roof falls are the real risk.
Get My Free Estimate →- Start from the ground: the 20 minute walk-around
- Cosmetic or a real defect? How to triage what you found
- What only shows during the job: ask for the photos
- Nailing: the defect you cannot see but can ask about
- Was a permit pulled, and did it pass inspection?
- Problems that show up in the first storms and first winter
- Material warranty and workmanship warranty are two different things
- If something looks wrong, do this in order
- If insurance paid for the roof
- Isn't a second-opinion roofer just going to find problems to sell me a roof?
- Get a second set of eyes before the final check clears
- FAQs
Here is the honest answer: most installation problems on a new roof are visible from the ground or in photos taken during the job. You do not need to be a roofer, and you should not climb up there. Binoculars, your phone camera, and twenty careful minutes around the house will catch many of the common mistakes.
The rest, the parts now buried under shingles, you verify with documentation and a couple of phone calls. That is why you ask for photos and permit status before you release the final payment, not after.
If you just had a roof replaced and something feels off, this checklist will help you tell whether your gut is right. And if you already paid in full, keep reading. There is a section for that too.
Start from the ground: the 20 minute walk-around
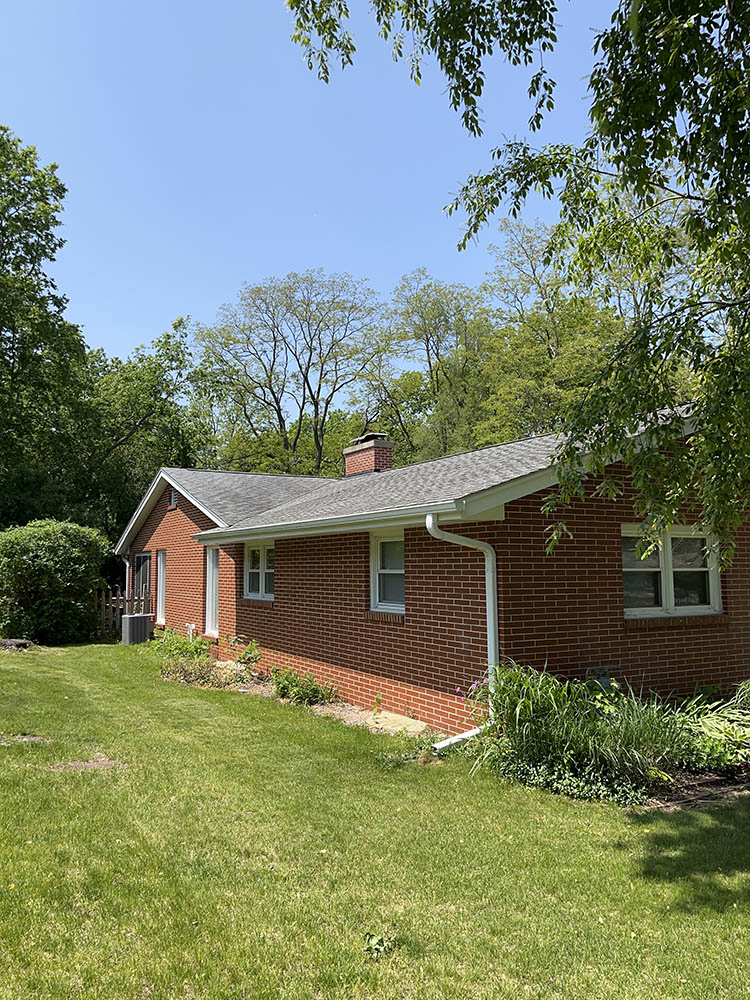
Walk the full perimeter. Stand back far enough to see whole roof planes, then use binoculars to zoom in. Photograph anything that looks wrong so you have a dated record.
- Straight, even courses. Rows should run parallel with consistent exposure (the amount of each shingle left showing). Waves, dips and drifting rows usually mean nobody snapped chalk lines.
- No buckling or lifting. New shingles lie flat. Ridges running up the slope can point to wrinkled underlayment or wet decking underneath.
- No exposed or raised nail heads. Fasteners belong hidden under the next course. Shiny nail heads out in the field are a leak waiting to happen.
- A clean, aligned ridge cap. Uniform, tight, centered, no gaps at the ends. Our guide to ridge cap shingles shows what a good one looks like.
- Neat valleys. Crisp and symmetrical, cut in a clean line or properly woven, with no shingle corners poking out. See our explainer on open vs closed valleys.
- Pipe boots and vents sealed and flashed. Every plumbing stack, bath fan and furnace vent needs a boot or flashing that tucks under the shingles above it. Globs of caulk doing the real work is a red flag.
- Metal drip edge at eaves and rakes. A thin metal edge along the bottom of the roof and up the gable sides. Missing drip edge is a common shortcut, and it can feed water behind your fascia and gutters. Here is why drip edge flashing matters.
- No cracked, torn or missing shingles, especially at corners where pry bars land.
- Flashing where the roof meets a wall or chimney. Step flashing tucked behind siding, not a smear of sealant.
- A real cleanup. Gutters cleared of granules and nails, debris hauled, and a rolling magnet sweep of lawn, beds, driveway and the strip by the street.
Our guide on how to inspect your roof safely from the ground walks through each elevation and how to photograph a problem so a contractor can actually see it.
Please stay off the roof
Walking new shingles can scuff granules loose, and any damage you cause can complicate a warranty claim. Add the obvious: ladders and steep pitches put people in the hospital. Nothing on this list requires you to leave the ground.
How many layers are under there?
Stand at the gutter line and look at the edge in profile. A single layer over bare decking shows a thin, tight stack above the drip edge. Two layers read noticeably thicker, and you can sometimes see a stepped shadow line along the rake.
Rules on roofing over an existing layer are administered locally and depend on the condition of what is underneath. Call your municipal building inspection department and ask what was approved for your permit. If your contract called for a tear-off to the deck and the edge looks thick, ask for the tear-off photos.
Cosmetic or a real defect? How to triage what you found
Not every imperfection is a failure, and it is fair to worry about overreacting. Here is a rough way to sort it.
| What you found | Cosmetic or defect | Urgency |
|---|---|---|
| Minor granules in gutters after install | Cosmetic, normal | None |
| Slight color variation between bundles | Cosmetic | None |
| A few wavy courses on one plane | Mostly appearance | Low, unless shingles are not sealing |
| Exposed or raised nail heads | Defect | Soon |
| Pipe boot held by caulk only | Defect | Before the next freeze-thaw |
| Missing drip edge | Defect | Before winter |
| Reused, rusted step or wall flashing | Defect | Before the next driving rain |
| Vents covered or soffit intake blocked | Defect | Before winter |
| No ice and water shield at eaves | Defect | Serious, and hidden |
| Rotted decking left in place | Defect | Serious |
| Overdriven or high nails throughout | Systemic defect | Serious |
Short version: anything that lets water in, or that cannot be corrected later without tearing shingles back off, gets dealt with now. Looks are negotiable. Water is not.
What only shows during the job: ask for the photos
Once shingles go down, the most important work is invisible. You verify it with documentation, and the time to ask is before the final invoice is paid.
Request photos of:
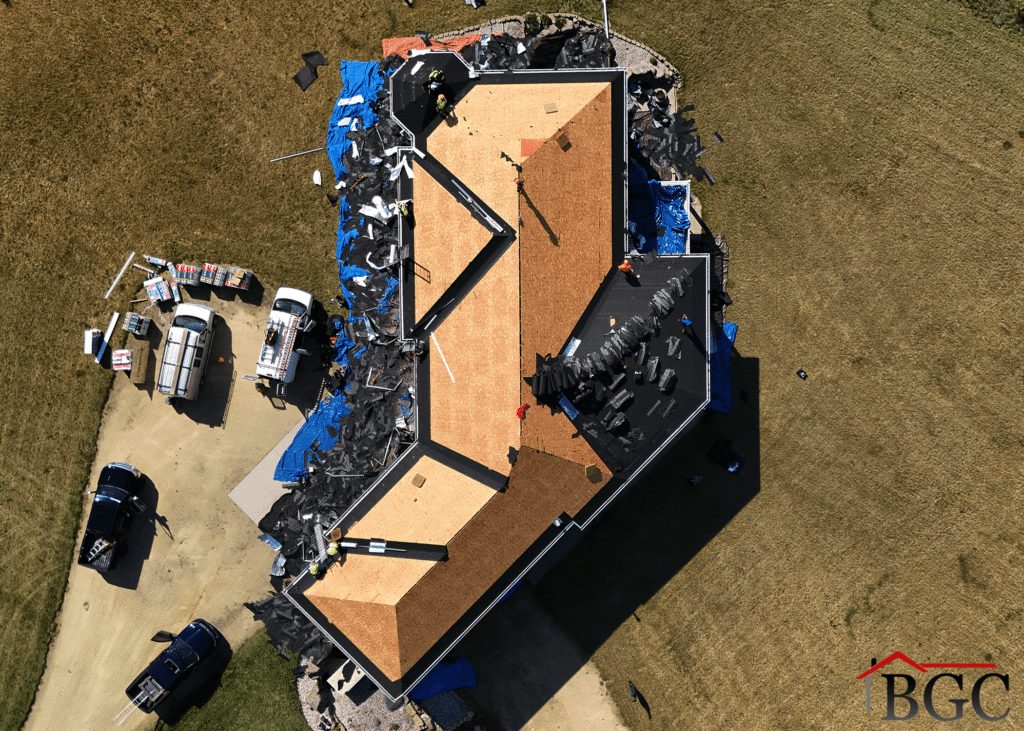
- Bare decking after tear-off, with any soft or rotted sheathing cut out and replaced. Rot left in place can telegraph through the shingles within a couple of seasons.
- Ice and water shield at the eaves and in the valleys. This is the self-adhering membrane that seals around fasteners and helps stop ice dam backup. Eave ice protection is standard practice in a climate like ours, and your building inspector can tell you exactly what applies at your address. We cover it in our guide to ice and water shield.
- Underlayment laid flat. Synthetic or felt, smooth and properly lapped, not wrinkled or patched. See felt vs synthetic underlayment.
- New flashing where the old was worn. Corroded or bent step, chimney and wall flashing should be replaced. Reusing tired flashing to save time is a classic cost cut.
- Ventilation intact or improved. Soffit intake open, ridge or box exhaust in place, bath and kitchen fans vented outside rather than into the attic. Our attic ventilation guide explains why intake and exhaust have to be balanced.
Our post on what happens during a roof replacement lays the day out in order, which makes it easy to spot a step that got skipped.
Nailing: the defect you cannot see but can ask about
Fastening is where quiet failures start. Shingle manufacturers specify a nailing pattern in the installation instructions printed on the bundle wrapper, commonly four nails per shingle in the marked nail zone, with additional fasteners required for steep slopes and high-wind applications. The specifics vary by product, so check the instructions for your exact shingle instead of trusting a rule of thumb.
Three things matter: count matching the requirement for your slope and wind exposure, placement inside the marked nail zone (high nails miss the course below and let shingles lift in wind), and depth (flush, not punched through the mat, not left raised as a visible bump).
Ask plainly: which nailing pattern did you use on this shingle, and was it the high-wind pattern? A good roofer answers in one sentence. Improper fastening can also limit the material warranty you just paid for.
Was a permit pulled, and did it pass inspection?
This is the free, documentary check most homeowners never make. Many municipalities in south-central Wisconsin require a permit for a reroof. Call your building inspection department with your address and ask: was a permit issued, whose name is on it, and did it pass final inspection? Our roof permit guide for Madison and Dane County explains how it usually works.
Two answers should concern you. A permit pulled in your name rather than the contractor's can shift responsibility for the work onto you. And if no permit exists where one was required, raise it in writing.
Problems that show up in the first storms and first winter
Give a new roof one good storm and one January, and it will confess.
Leaks at penetrations and walls. Water showing up around a bath fan, a plumbing stack, a chimney, or where a dormer meets the main roof is often flashing or boot work rather than the shingles themselves.
Stains near the eaves after a thaw. Trickier. Ice dam leaks can happen on a correctly shingled roof when the attic is warm and the eave is cold.
Installation fault, or ventilation and insulation?
- Leak during or right after rain, same spot every time, near a penetration or wall: likely flashing or fastening, so installation.
- Leak only after snow sits and warms, along the bottom few feet of a slope, with icicles and ice ridges at the gutter: ice damming driven by heat loss.
- No ice dams before the new roof and now you have them: ask whether soffit intake got blocked or exhaust vents got covered. That is an installation issue even though the mechanism is airflow.
- Leak at the ridge in wind-driven rain: look at the ridge vent and the cut in the decking.
Some common installation patterns, described as patterns and not as any one customer's house: a ridge vent added while the original box vents are shingled over, which can cut exhaust instead of adding it; insulation pushed into the soffit bays, which blocks intake air; and a budget reroof that skips eave membrane entirely, which nobody notices until water finds it. Humid attic air and frost on the underside of the sheathing point to insulation and air sealing. An honest inspector will tell you which one you have, even when the answer is not a roofing bill.
Want a straight answer on your roof?
We'll inspect it, document everything, and tell you honestly what you're looking at, even if the answer is patch it for now. No pressure.
Material warranty and workmanship warranty are two different things
The paperwork confuses almost everybody, so here is the split.
The manufacturer warranty covers the shingle. Manufacturing defects, prorated or non-prorated terms, and a "lifetime" label that usually means a limited warranty on the product, not a guarantee for the life of your house. It generally does not cover installation mistakes, and improper installation can limit or void it.
The contractor's workmanship warranty covers the labor. Terms vary widely between contractors. Read what it excludes, how to make a claim, and whether it transfers if you sell. Our breakdown of what a roofing contract should include covers this.
Verify an extended system warranty before you rely on it
Some manufacturers offer extended system warranties, including manufacturer-backed workmanship coverage, but only through contractors they have certified. That coverage matters most when the installer is gone, so confirm it rather than assume it:
- Look the company up on the shingle manufacturer's own contractor locator. If the business is not listed, it could not have sold you that warranty.
- Ask for the warranty certificate and registration number in writing, not a promise that it "was submitted."
- Call the manufacturer's warranty department and confirm the registration exists for your address. Registrations do not always get filed.
If something looks wrong, do this in order
Do not argue in the driveway. Build a record.
- Photograph everything from the ground, wide shots for location plus close-ups.
- Notify the contractor in writing. Email is fine, certified mail is better if things are tense. Describe what you see and where, and ask for a date they will come look.
- Give them a fair chance to correct it. A written request and a reasonable window usually gets problems fixed faster than a confrontation.
- Keep the paperwork together: signed contract and scope, invoice, change orders, material delivery tickets, permit, warranty registration.
- Get an independent inspection if you are being brushed off.
Your contract is the referee, which is exactly why its terms matter up front. If the quality questions extend past the roof, the signs of bad siding installation follow the same logic from the ground.
Before you withhold the final check
Leverage is real, and so is the risk. Read your payment terms first. Contractors and suppliers generally have lien rights, which is why you may have received a preliminary notice in your contract packet or by mail, and withholding payment outside what your contract allows can end with a lien filed against your property. The safer route is to hold back only what the contract permits or what both sides agree to in writing, put the punch list in an email, and talk to a construction attorney before a standoff gets expensive.
If you already paid in full
You lost leverage, not your rights. Payment does not automatically waive a workmanship warranty or a defect claim. The sequence just runs on paper instead of on a held check:
- A written demand with dated photos, a specific list of defects, and a date to respond.
- An independent written inspection, with each item labeled and tied to the manufacturer instruction or flashing detail behind it.
- A call to the shingle manufacturer's technical services department, asking whether a field rep can evaluate the installation.
- A consumer complaint with the Wisconsin Department of Agriculture, Trade and Consumer Protection if the contractor stops responding.
- Small claims court for money claims within the statutory limit.
Wisconsin has notice requirements and time limits for construction defect claims, and they turn on the specific facts. If the dollars are serious, get a construction attorney's read sooner rather than later.
If the installer is gone
It happens after big storm seasons. The workmanship warranty generally ends with the company. The material warranty still follows the product, and a registered extended system warranty may still be honored by the manufacturer, so call their warranty department with the registration number. Then get the defects documented with photos by a local contractor who will still be around next spring. Our post on spotting storm chasers covers how to avoid this situation in the first place.
If insurance paid for the roof
Bad workmanship is a contractor dispute, not a supplemental claim. Your carrier paid for storm damage based on your policy, and the quality of the install is between you and the company that did it. Document it anyway, because your file matters later.
Watch what you sign. On a replacement cost policy, the certificate of completion is what typically releases the depreciation holdback and tells the carrier the job is done. Do not sign it with a punch list open. If you are mid-claim and unsure what the scope actually covered, our hail and storm damage page explains how scopes and adjuster documentation fit together.
Isn't a second-opinion roofer just going to find problems to sell me a roof?
Fair question, and you should ask it out loud. Some inspectors do.
Here is how to protect yourself: ask for the findings in writing with photos, ask the inspector to label each item cosmetic, correctable or serious, and ask them to point to the manufacturer instruction or flashing detail that supports each call. A real defect has a citation behind it. A sales pitch has adjectives. You are also free to take a written report straight back to the original contractor and ask them to correct it.
Get a second set of eyes before the final check clears
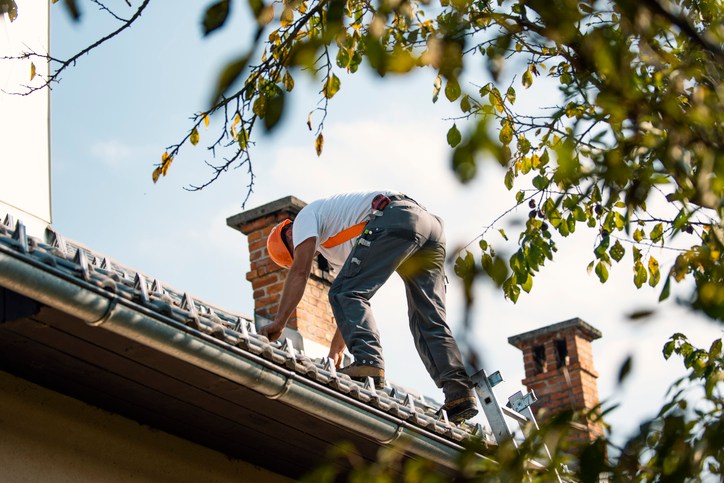
If something about your new roof is nagging at you, let an experienced roofer look at it. A free on-site roof inspection can tell you whether the work is sound, cosmetic or a real defect that needs correcting. If the roof is fine, you will have that in writing too.
Buckshot Exteriors has been a family-owned exterior contractor since 1979. See our residential roofing page for what we do, then call (608) 909-9109 or reach out here to schedule. It costs nothing to find out.
Get a straight answer on your Madison roof
Wisconsin storm season and insurance non-renewal letters do not wait. Get a free, no-obligation inspection and an honest assessment of exactly what your roof needs, even if the answer is to wait.