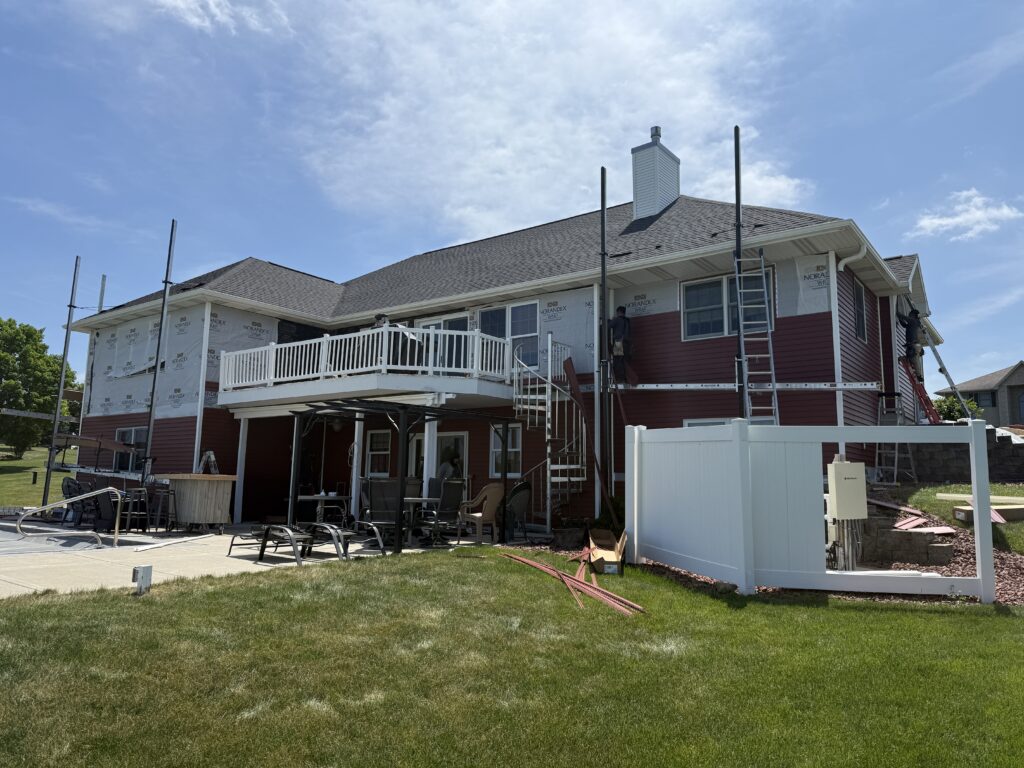
Run your hand along a few panels, especially on a sun-exposed wall. They should feel secure but not rigid, with no visible waviness or buckling, and you shouldn't be able to easily shift a panel by hand. Over-driven nails restrict the panel's ability to expand and contract with temperature, which shows up as buckling or warping, often within the first year or two, especially on south or west-facing walls that see the most sun.
Get My Free Estimate →- Nailing: the single biggest cause of early siding failure
- J-channel and trim: where water actually gets behind the wall
- Flashing at windows, doors and roof-to-wall transitions
- Expansion clearance and how panels lock together
- What a clean installation looks like from the ground
- Signs specific to fiber cement and engineered wood
- What to ask before you sign off on the final walkthrough
- Why this matters more in Wisconsin than in milder climates
- If you're already seeing problems
- Get a second opinion before you commit
- FAQs
The material on your house matters less than most homeowners think. Vinyl, fiber cement, steel, they all fail early for the same reason: bad installation, not bad product. A poorly installed premium siding job will cause problems years before a properly installed mid-grade one does, which is exactly why the walkthrough at the end of a siding job matters as much as the material you picked.
Here's what to actually look at before you sign off, and what each problem usually means.
Nailing: the single biggest cause of early siding failure
Siding, especially vinyl, is designed to move. It expands and contracts with temperature, sometimes noticeably over a long panel's length between a cold morning and a hot afternoon. Correct installation accounts for that movement. Bad nailing doesn't.
Over-driven nails. If nail heads are snugged down tight against the panel instead of left with a small gap to slide, the siding can't move with temperature swings. The result shows up as buckling, waviness, or warping, usually first noticed on a sun-exposed wall within a season or two, sometimes sooner in a hard freeze-thaw winter.
Under-driven or missing nails. The opposite problem: panels that aren't secured enough can rattle in wind, work loose over time, or blow off entirely in a storm.
Nails placed in the wrong spot on the nailing hem. Most panels have a specific zone designed for fastening. Nailing outside it, or nailing through the face of the panel instead of the hem, restricts the movement the panel needs and can crack it.
What to check: run your hand along a few panels, especially on a sun-facing wall. They should feel snug but not rigid, with no visible waviness or buckling. You shouldn't be able to easily shift a panel side to side by hand, but it also shouldn't feel nailed down like a fixed board.
J-channel and trim: where water actually gets behind the wall
J-channel is the trim that siding panels tuck into at corners, around windows and doors, and at transitions. Gaps here are one of the most common ways water gets behind a wall assembly, and they're easy to miss on a quick look because the siding itself often still looks fine.
What to check:
- Consistent gaps at every J-channel and corner post, not tight in some spots and loose in others
- No visible daylight or gaps where siding panels meet trim
- Corner posts and trim pieces sitting flush and straight, not twisted or bowed
- Caulk used only where the manufacturer's instructions call for it, not as a substitute for proper trim fit. Caulk closing a gap that should have been covered by correctly sized trim is a sign of a shortcut, not a finish detail.
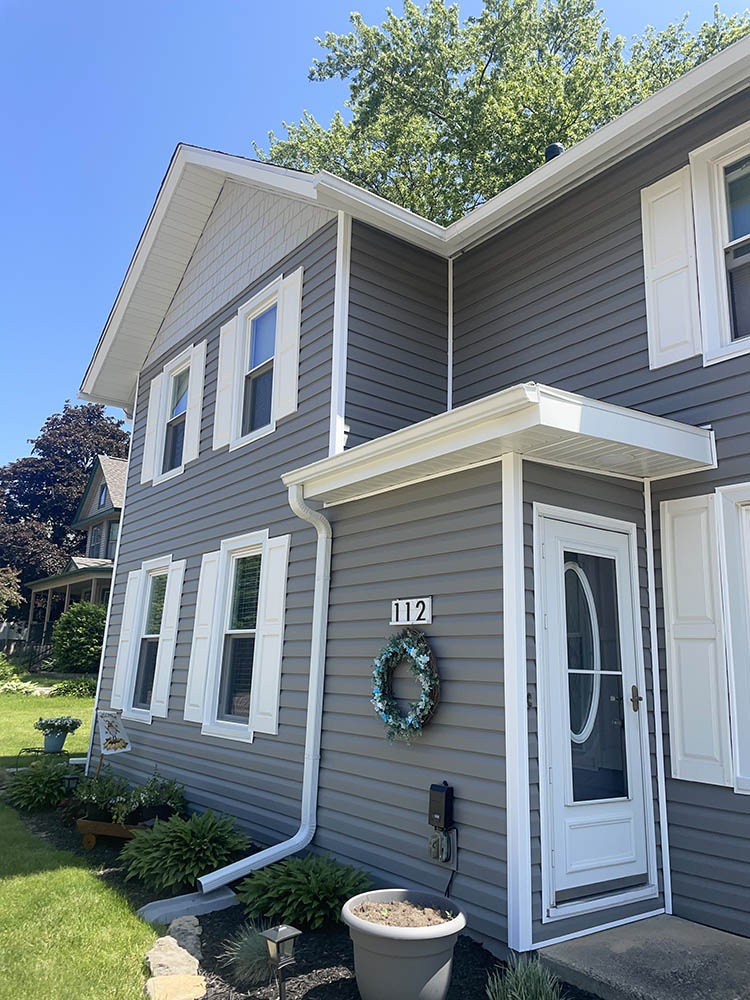
Flashing at windows, doors and roof-to-wall transitions
This is the detail that causes the expensive problems years down the road, because a flashing mistake can look completely fine on the surface while water tracks behind the wall for a long time before it shows up as rot or a stain.
Proper installation means housewrap laps correctly over flashing at every window and door (water sheds down and over each layer, never up into a seam), and any roof-to-wall intersection has proper step flashing or a kick-out at the bottom, not just siding butted up against the wall.
You generally can't verify this after the siding is up without pulling a panel, which is exactly why it's worth asking direct questions before the crew starts: how are they flashing windows and doors, and what happens at any roof line that meets a wall. A contractor who has a clear, specific answer is doing it right. A vague answer is a real warning sign.
Expansion clearance and how panels lock together
Beyond nailing, panels need actual room to expand, not just the nail slot itself.
- Clearance at the ends of runs, where panels meet corner posts or J-channel; panels jammed in tight with no room to move are set up to buckle
- Panels properly locked into the course below, not just resting against it; you can usually see and feel whether a course is fully engaged with the one underneath it
- Consistent, level coursing, checked by sighting along a wall from one end. Coursing that visibly rises or drops isn't just cosmetic, it usually means a starter strip or early course wasn't set level, and everything built on top of it inherited the error.
What a clean installation looks like from the ground
Panels are straight, level, and consistent in reveal (the amount of each panel showing) across a wall
- No visible waves, buckles, or oil-canning in the field of the siding, especially once the sun hits it at a low angle
- Trim and corner posts are tight, straight, and consistent, with no visible gaps
- Caulk is used sparingly and only where specified, not as a general gap-filler
- Housewrap isn't visible anywhere it shouldn't be, and there's no exposed, unflashed seam
Signs specific to fiber cement and engineered wood
Fiber cement and engineered wood siding have their own installation-quality tells, separate from vinyl's expansion and buckling issues.
- Butt joints not backed or flashed correctly, which lets water track in at every horizontal seam
- Cut edges left unsealed, especially on fiber cement, where the factory finish doesn't extend to a field cut and the raw edge needs to be sealed or primed
- Fasteners countersunk incorrectly (too deep cracks the board, too shallow leaves the head proud and prone to rust streaking)
- Boards butted too tight with no expansion gap, which can cause buckling in humidity and temperature swings even though these materials move less than vinyl
Want a straight answer on your roof?
We'll inspect it, document everything, and tell you honestly what you're looking at, even if the answer is patch it for now. No pressure.
What to ask before you sign off on the final walkthrough
Sight down every wall for waviness or buckling, not just from directly in front but from an angle, which shows waves more clearly
- Check every corner and trim piece by hand for gaps or looseness
- Ask specifically how windows, doors, and any roof-to-wall intersections were flashed
- Ask for photos taken during installation if the crew didn't invite you to look at any point mid-job, since some details genuinely can't be checked after the fact
- Get the workmanship warranty terms in writing, including what it actually covers and for how long, before final payment
Not sure whether a siding job, yours or a quote you're comparing, is actually done right? We'll walk it with you and tell you honestly what we see. Call (608) 909-9109 for a free inspection.
Why this matters more in Wisconsin than in milder climates
Freeze-thaw cycling and real temperature swings between seasons put more stress on a poorly installed wall than a steady, mild climate does. A nailing or expansion mistake that might sit quietly for years somewhere with less temperature variation tends to show up faster here, sometimes within the first winter. That's exactly why a rushed or corner-cutting install is a worse bet in this climate than in most of the country, not a better one.
If you're already seeing problems
Waviness, buckling, gaps at trim, or a section that looks visibly different from the rest of the wall are all worth a second look, whether the siding is new or has been up for years. Some of these are a straightforward fix (renailing or resetting a panel correctly), and some point to something more significant behind the wall that's worth checking before it gets more expensive. Our guide on signs your siding needs replacement covers the deeper end of that spectrum, when it's not just an installation fix but the material itself failing.
Get a second opinion before you commit
Whether you're comparing bids, mid-project, or reviewing finished work, a second set of eyes on installation quality is worth the time. We'll look at the actual details that matter: nailing, trim, flashing, and coursing, and tell you plainly what we see.
Buckshot Exteriors has installed and repaired siding across south-central Wisconsin since 1979. You can learn more about our siding services or call (608) 909-9109 for a free, no-pressure inspection.
Get a straight answer on your Madison roof
Wisconsin storm season and insurance non-renewal letters do not wait. Get a free, no-obligation inspection and an honest assessment of exactly what your roof needs, even if the answer is to wait.