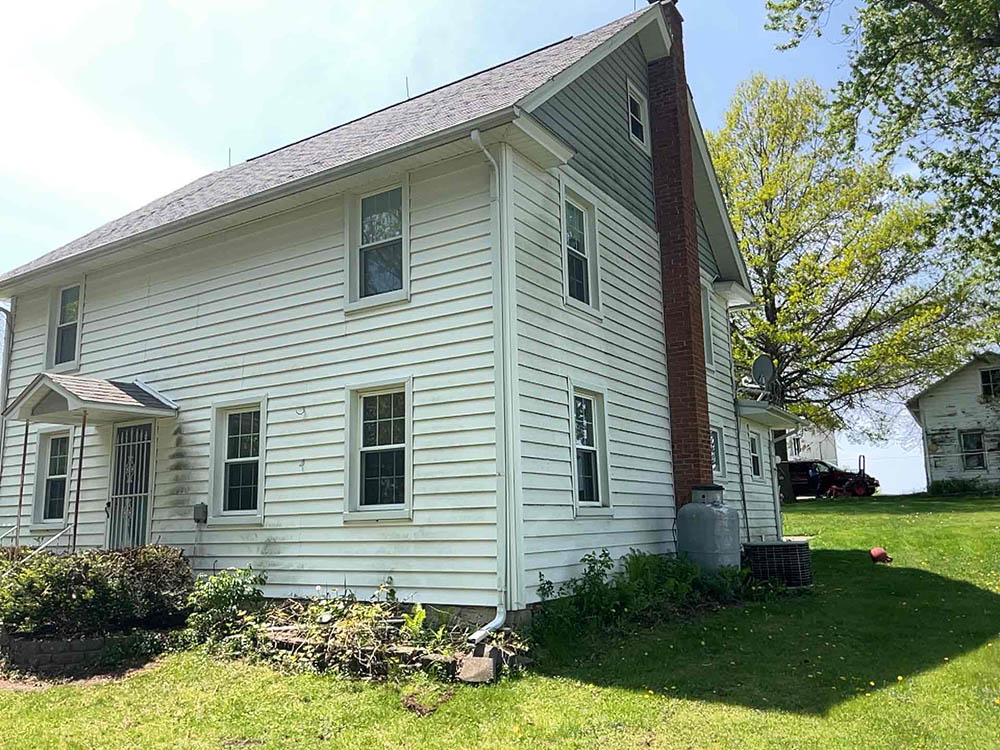
Usually yes, if we catch a stretch of dry days. Most quality sealants list a minimum application temperature (commonly around 40 degrees) and require a dry, frost-free surface, so the practical window in south-central Wisconsin runs from roughly mid-April into late October, sometimes the first week or two of November on a sunny run. Exterior painting closes earlier, since most 100% acrylics want 50 degrees and up including overnight. If you find failed joints in November and water is actively getting in, call anyway. There are low-temperature sealants and temporary measures that will hold the wall through winter so the real repair can happen in spring.
Get My Free Estimate →- The two things that actually need your attention
- Caulking fiber cement siding: where it goes and what fails first
- Repainting fiber cement: factory finish vs field-painted
- Cleaning fiber cement the right way
- Maintenance problem or actual damage?
- Safety first if you're doing this yourself
- Your simple annual routine
- Not sure what your siding needs? Let us look, free
- FAQs
Fiber cement siding has exactly two real maintenance items: the sealant (caulk) at its joints, and the paint or factory finish. Everything else is cleaning and keeping water off it.
Here's the honest version of the pitch you heard when you bought it. Fiber cement genuinely is low-maintenance compared to wood or hardboard. It doesn't rot, insects don't eat it, and a good factory finish outlasts anything a painter can brush on. But "low-maintenance" got shortened to "no-maintenance" somewhere in the sales process, and that's where homeowners in Dane, Rock and Green counties get burned.
The siding almost never fails first. The joints do.
The two things that actually need your attention
Walk your house once a year, in spring after the frost is out, and look at two things:
- Every sealant joint. Butt joints between boards, around window and door trim, at corner boards, where siding meets trim or brick, and around hose bibs, lights and vents.
- The finish. Color fade, chalking (a dusty film on your hand when you rub it), and any spot where paint is peeling or the board looks dry and gray.
That walk takes fifteen minutes and catches almost everything before it turns into a sheathing repair.
A quick note on HZ5 versus HZ10
If you have James Hardie board, the product sold into our market is the HZ5 line, engineered specifically for freeze-thaw, cold and wet climates. There's a separate HZ10 line built for hot, humid regions. The two are formulated and detailed for different stresses, and board ordered out of region (it happens with mail-order material or an out-of-state crew) isn't engineered for what January does here. Not something you can change now, but worth knowing when your cousin in Texas tells you how his siding is holding up.
Caulking fiber cement siding: where it goes and what fails first
Caulk fails years before the board does. That's the single most important thing to understand about maintaining this product.
A quality sealant stays flexible for a long time, but it's still the softest material on your wall and the part doing all the moving. Boards expand and contract, the house settles, and the swing from a January night to a July afternoon in south-central Wisconsin is enormous. Every one of those cycles works the joint a little.
Which sealant to buy, and what to never put on your siding
Do not use 100% silicone. It won't hold paint, and it isn't an approved sealant for fiber cement. Skip bargain acrylic painter's caulk from the five-tube bundle too. It shrinks, goes chalky and lets go within a few seasons on a sun-baked wall.
Manufacturer specifications generally allow either an ASTM C920, Grade NS, Class 25 or higher sealant, or a latex joint sealant meeting ASTM C834. In this climate we use the C920 Class 25-or-better products: polyurethane sealants and the newer hybrid polymer (silane-modified, sometimes labeled STPE) sealants. They move with the joint, bond to both the board and the trim, and take paint. Check the label for "Class 25" or better and for fiber cement or masonry among the approved substrates.
Where joints actually need sealant
Depending on how your installer detailed the job, you'll have one of two accepted approaches where two boards meet end to end: a flexible sealant in the joint, or a small deliberate gap with metal joint flashing behind it. Both are legitimate. Which one you have changes your maintenance, so figure that out early.
The joints that almost always get sealant, and almost always fail first:
- Around window and door trim, especially the vertical sides
- At inside and outside corner boards
- Where siding meets a different material (brick, stone, a deck ledger, a chimney chase)
- Penetrations: hose bibs, exterior outlets, light blocks, dryer and bath vents
Where you should never caulk
This is where well-meaning DIY work and cheap handyman "maintenance" cause real damage:
- Never caulk the horizontal lap where one board overlaps the one below it. That gap is a drainage and drying path. Seal it and you trap water in the wall.
- Never caulk the gap under a window's head flashing. That's a weep. It's supposed to let water out.
- Never caulk a structural crack that runs through the board. More on that below.
Why a failed joint matters more than it looks
Because fiber cement doesn't care about water, people assume the wall doesn't either. The wall absolutely does.
Water that gets through a split joint doesn't sit on the siding. It tracks behind it, onto the house wrap, and down to the OSB or plywood sheathing, window flanges and framing. Then our freeze-thaw cycle takes a hairline failure that would stay hairline in Tennessee and pries it open a little more every time the thermometer crosses 32 degrees.
The pattern repeats on mid-2000s fiber cement around Fitchburg, Oregon and the west side of Madison: the original sealant holds fine for a decade, then the south and west butt joints and window sides let go, and nobody notices because the boards still look perfect. By the time anyone opens the wall, the sheathing under the second-story windows on that sunny elevation is soft and the repair is carpentry. That's the real cost of a $12 tube of caulk nobody replaced.
What failure actually looks like (three different things)
Homeowners lump these together, and they aren't the same repair:
- A cracked bead. The caulk is still stuck to both sides, but the middle has split open. Cut it out, re-prep, new bead.
- Adhesion failure. The bead looks intact but has peeled cleanly off one side, usually the trim. This is the sneaky one, because from the ground it reads as a fine joint. It is often the worse leak of the two.
- A popped fastener. A nail head standing proud of the board, sometimes with a hairline halo around it. That's a fastening problem, not a caulk problem.
If you want to see what each of these looks like on a real wall, the before-and-after photos in our recent exterior projects show the difference better than any description, including what the sheathing underneath tends to look like once the joint has been open a few seasons.
A realistic recaulking interval, and what it costs
Expect to redo the worst joints somewhere in the general range of every 5-10 years, and don't be surprised when it isn't uniform. Shaded north and east elevations commonly go longer. South and west walls, and anything above a heat-reflecting roof, go first. When you redo a joint, cut out and remove the old bead instead of smearing fresh caulk over dead caulk. New sealant bonds to siding and trim, not to failed material.
On cost, these are the ranges we work from when we price this kind of work in Dane, Rock and Green counties, based on current local labor and material costs and typical homes here. They are not a quote and they move with the market.
- Spot recaulking the failed joints on a typical 2,000 sq ft home: roughly $500-$1,500
- Cutting out and replacing every joint, window perimeter, corner and penetration on the house: more like $1,500-$4,000
Two stories, difficult access, staging instead of ladders, a high window count or a lot of trim detail push both ends up.
If you'd rather have someone else do the annual walk and tell you straight whether it's a caulk year or a nothing year, we'll come look at no charge. Call (608) 909-9109 and we'll put eyes on every elevation, including the ones you can't see from the ground.
Can this be done in late fall?
Usually, yes, with a dry stretch. Most quality sealants carry a minimum application temperature (commonly around 40 degrees) and need a dry, frost-free surface, which in practice gives south-central Wisconsin a window from about mid-April into late October, occasionally into early November. Caulk run on a 25-degree December afternoon never gets a proper bond, and a bead that doesn't bond is worse than an old bead, because you'll assume it's fixed.
If you're finding failed joints in November and water is already getting behind the siding, don't just wait for May. Low-temperature sealants and temporary measures exist specifically to hold a wall through a Wisconsin winter until the real repair can be done properly in spring.
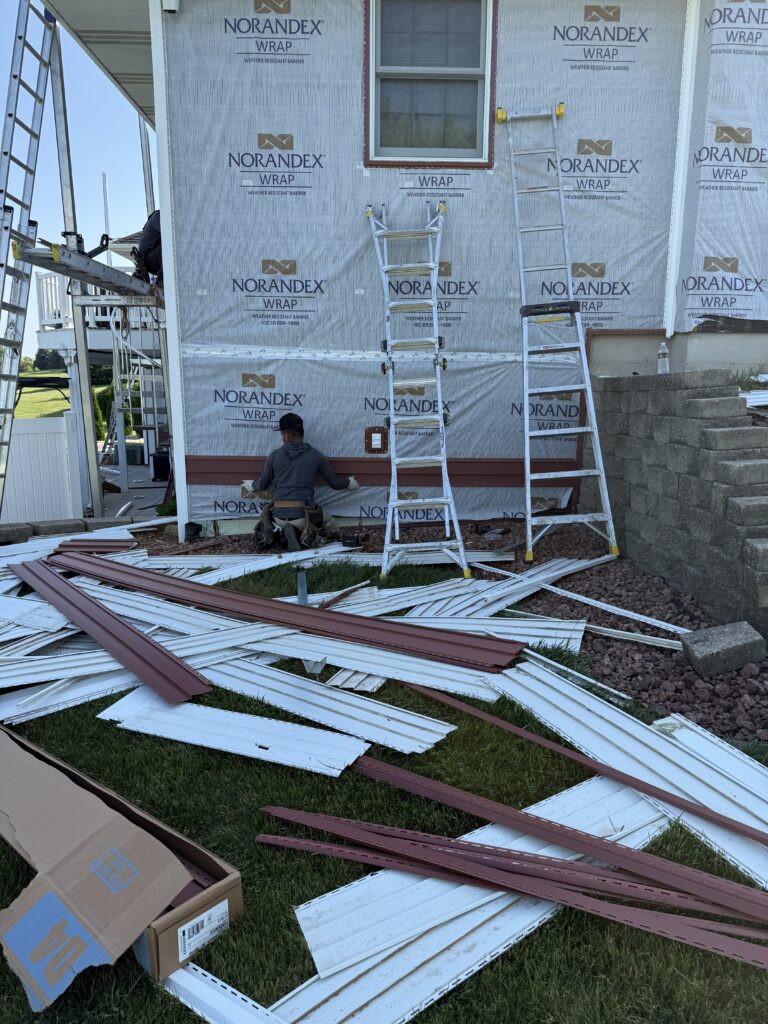
Repainting fiber cement: factory finish vs field-painted
Your repaint cycle depends almost entirely on how the siding was finished, and that was decided before the boards hit your wall.
Factory-finished (pre-primed and pre-painted)
Factory finishes are applied and cured under controlled conditions, on all faces and edges, and they're dramatically more durable than anything applied outdoors in Wisconsin humidity. James Hardie's ColorPlus finish, for example, commonly carries a finish warranty in the 15-year range. That's the better long-term choice and what we steer most homeowners toward on a fiber cement siding installation.
Be clear about what that 15 years is, though. A warranty term is a legal coverage period, not a service-life estimate. Finish warranties typically cover things like peeling, cracking and chipping under specific conditions, and many limit or exclude normal fade. Plenty of factory finishes look good past their warranty on shaded walls while a full-sun south elevation starts chalking earlier. Your eyes on the sunny side are the better timer.
Field-painted (primed only, painted after install)
Primed-only board painted on site is cheaper up front, and that's its only advantage. Honest general ranges put a quality two-coat field paint job at roughly 7-12 years of service before it needs attention, with the low end going to south and west exposures, thin single-coat work, or poor prep. That 7-12 years is an expected service life, which is a different animal from a warranty term, so don't line it up against a 15-year finish warranty as if they measure the same thing.
If you're still in the planning stage and weighing that up-front difference, our breakdown of James Hardie siding cost and ROI in Madison walks through why the factory finish usually wins on total cost of ownership once you price two repaints.
What ages the finish fastest here
- South and west sun. UV is the number one enemy of color. It's completely normal for your south wall to look lighter than your north wall at year twelve. That's fade, not failure.
- Freeze-thaw. It doesn't attack the coating directly, but it accelerates every existing caulk and fastener weakness, and water behind a board will eventually push paint off the face.
- Sprinklers and splash. A zone head hitting the same two feet of siding every morning chalks and stains that strip years ahead of the rest.
- Gutter overflow. Clogged gutters dumping over the front edge streak and prematurely weather the siding and trim below.
Touch-ups and discontinued colors
Use the manufacturer's touch-up kit the way it's intended: thin brush strokes on nail heads, cut edges and small scratches only. Never roll it and never brush out a broad patch. Touch-up paint has a different sheen than a baked factory finish, and a rolled patch will flash at you every sunny afternoon for the rest of your life.
If your original color has been discontinued, a paint store can scan a clean chip pulled from a protected area (under a soffit, behind a downspout) and mix a 100% acrylic match for repairs, though it will still read slightly off against a decade of fade. The clean fix is repainting that elevation corner to corner, so the eye has nothing to compare it to.
What a repaint costs, and what a color change adds
Again, these are our working market ranges for this area, not a quote. A proper repaint of a typical two-story (wash, scrape, prime bare spots, recaulk, then two coats of quality 100% acrylic) commonly lands in the $5,000-$12,000 band. Full replacement with new factory-finished fiber cement is generally $20,000-$45,000 or more. Wall area, stories, access, prep condition and trim detail move all of it.
A color change is its own cost driver. Covering a dark color with a light one, or going dramatically off the existing shade, usually means an extra coat plus slower, more careful cut-in at trim, corner boards and soffits. Expect to land toward the upper half of that repaint range. And if you're going deep and saturated, know that darker colors absorb more heat and typically fade sooner on the sunny walls.
Warranty: finish and substrate are two different things
Factory-finish coverage is commonly affected if a homeowner repaints outside the manufacturer's specified process or product type. Most fiber cement manufacturers call for a high-quality 100% acrylic exterior latex, not oil or alkyd coatings, and they have requirements about surface prep and coverage.
Here's what people miss: the finish warranty and the substrate (board) warranty are separate documents with separate terms. The long substrate warranty generally assumes the siding was installed to spec and kept maintained, which includes keeping joints sealed and the bottom edge clear of grade. Letting water run behind the siding for years isn't a product defect and won't be treated as one. Five minutes with your warranty paperwork before you buy paint protects coverage you already paid for.
Cleaning fiber cement the right way
Soft wash. Water, mild detergent, a soft brush, rinse from the top down. Once a year is plenty for most homes, more often if you're near a field, a gravel road or heavy tree cover.
Most manufacturers' care sheets lead with exactly that, water and mild detergent, and caution against anything harsher that could affect the finish. For stubborn green algae on a shaded north wall, a dilute bleach solution or an exterior mildewcide labeled for painted surfaces is sometimes used, but go gently and in this order: check your specific manufacturer's care instructions first, then test an inconspicuous spot (behind a downspout, a low wall on the back of the garage) and let it dry before you do a whole elevation. Aggressive bleach can dull or chalk a factory finish like ColorPlus, and that's the same warranty you just spent five minutes protecting. Pre-wet and rinse your plantings either way, because that runoff will burn shrubs and perennials. Stay away from acidic cleaners (oxalic acid, rust removers, masonry acid) on the finish entirely.
Skip the high-pressure washer. Pressure drives water up under the laps and behind panels, tears out sealant joints, and dulls or strips the finish. If one gets used anyway, keep it on low pressure with a wide fan tip, stay well back, and never aim upward into the laps.
Also: keep mulch, soil and landscaping down off the bottom course, trim shrubs back so air can move, and maintain the required clearance between the bottom edge of the siding and grade. Siding buried in mulch wicks moisture it was never designed to sit in.
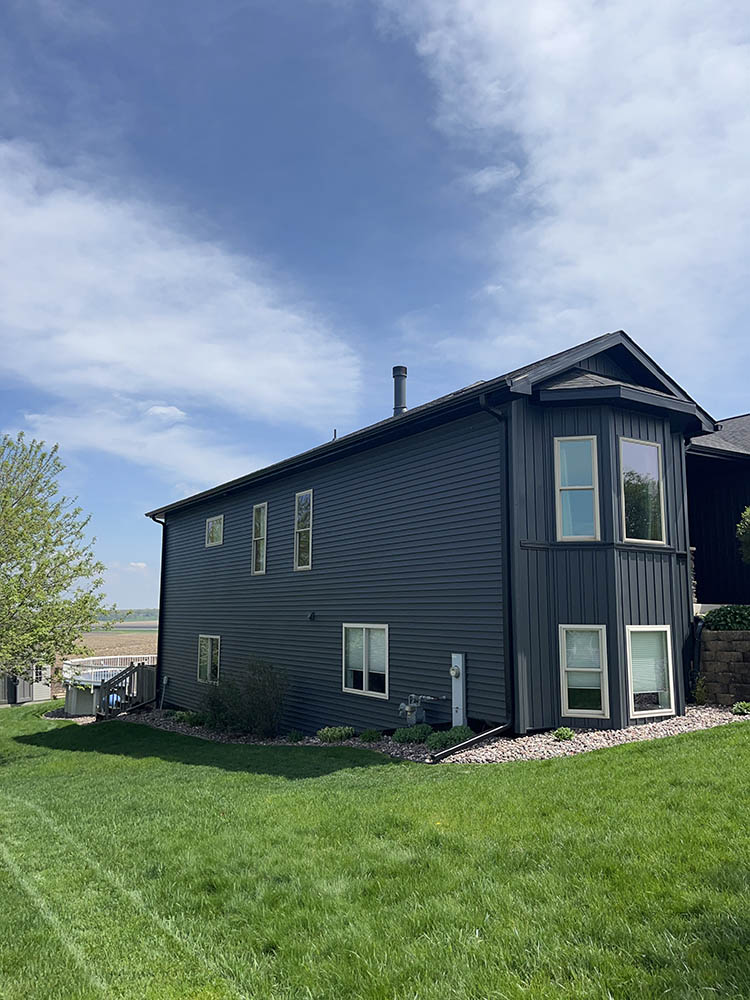
Maintenance problem or actual damage?
This is the call homeowners get wrong most often, so here's the line.
Maintenance items: cracked or shrunken caulk, fade and chalking, dirt and algae, a few popped fasteners, a minor chip or nick at a board edge, one hail-dinged board. Small chips, nicks and factory-cut edges can legitimately be addressed with an approved sealant or patching material per the manufacturer's instructions, then touched up.
Not a maintenance item:
- A structural crack running through the board, especially one from an overdriven nail, a fastener set too close to the edge, or impact. Caulking that hides it for one season and traps water behind it. The board gets replaced.
- Soft or spongy trim, window sills or sheathing. That's rot, and the repair is carpentry.
- Boards that are loose, lifting at the butt ends, or rattling in wind. That's fastening, and sometimes flashing.
- Popped nails in lines or clusters, which usually means the original nailing missed framing or the blind nailing was set too high.
- Interior staining or a musty smell at an exterior wall. Stop and get it opened up.
If several of those show up at once across multiple elevations, you may be past the point where caulk and paint solve it. Our guide to the signs your siding needs replacement covers how to tell the difference honestly.
The correct popped-nail fix, for the record: remove the popped fastener, set a new corrosion-resistant siding nail (hot-dip galvanized or stainless) an inch or two away through the nailing zone into solid framing, driven flush, not countersunk, then fill the old hole with approved patching material or sealant and touch up with thin brush strokes. Don't just caulk over the head.
The insurance angle on storm damage
Wind and hail damage to siding can be a covered claim, and we document storm damage and meet your adjuster on site when it is. Go in with clear eyes, though. Many Wisconsin policies carry a percentage wind/hail deductible (often 1-2% of the dwelling amount) rather than a flat dollar figure, which on a $400,000 home can mean several thousand out of pocket. Some policies now include cosmetic damage exclusions that can exclude dents and chips not affecting function. And an actual cash value (ACV) policy pays depreciated value up front with the balance released after the work is done, while replacement cost value (RCV) coverage doesn't depreciate the same way. Read your declarations page, or have us read it with you.
Want a straight answer on your roof?
We'll inspect it, document everything, and tell you honestly what you're looking at, even if the answer is patch it for now. No pressure.
Safety first if you're doing this yourself
Two hazards that almost never make it into online maintenance advice.
Silica dust. Fiber cement contains crystalline silica, and cutting, sanding or grinding it releases respirable dust that is a genuine lung hazard. If you're swapping a board or trimming one, work outdoors and upwind, use score-and-snap or fiber cement shears where possible (almost no dust), and if a circular saw is unavoidable, use a dust-reducing fiber cement blade with HEPA vacuum dust collection. Wear a properly fitted NIOSH-approved respirator (N95 minimum) and eye protection. Wet down or HEPA-vacuum the debris. Never dry-sweep it.
Asbestos, on older houses. Modern fiber cement is portland cement, sand and cellulose fiber, with no asbestos in it. But asbestos-cement siding shingles were common into the late 1970s, and on a pre-1980 home those thin, brittle "cement board" shingles can look similar. If that's your house, do not scrape, sand, cut or tear anything off until a certified asbestos inspector tests it. Wisconsin has work-practice and notification rules for disturbing asbestos materials, and this is one spot where guessing is genuinely dangerous.
What to DIY and what to hand off
A capable homeowner should handle the annual wash, the gutters, the mulch clearance, nail-head touch-ups and ground-floor sealant joints reachable from a step ladder. That's real money saved and it isn't hard work.
Where DIY stops paying: second-story joints, gable peaks, anything needing a 28-foot extension ladder, and full repaints. You'll spend $200 in material to save maybe $700 in labor, balanced on a ladder cutting out old caulk one-handed. The joints that matter most (window heads and high butt joints on the sun side) are exactly the ones you can't do well from a ladder.
Your simple annual routine
Spring: walk all four elevations and note every failed sealant joint, cracked bead and peeled-off bead alike.
- Spring: soft wash, with extra attention to the shaded north side.
- Spring: clean gutters so they stop dumping on the siding below.
- Check that sprinkler heads aren't hitting the walls.
- Keep mulch and plants off the bottom course.
- Recaulk failed joints as they fail, not on a calendar.
- Watch the finish on south and west walls. Chalking is your repaint timer.
Do that and fiber cement will outlast most of the other decisions you make on this house.
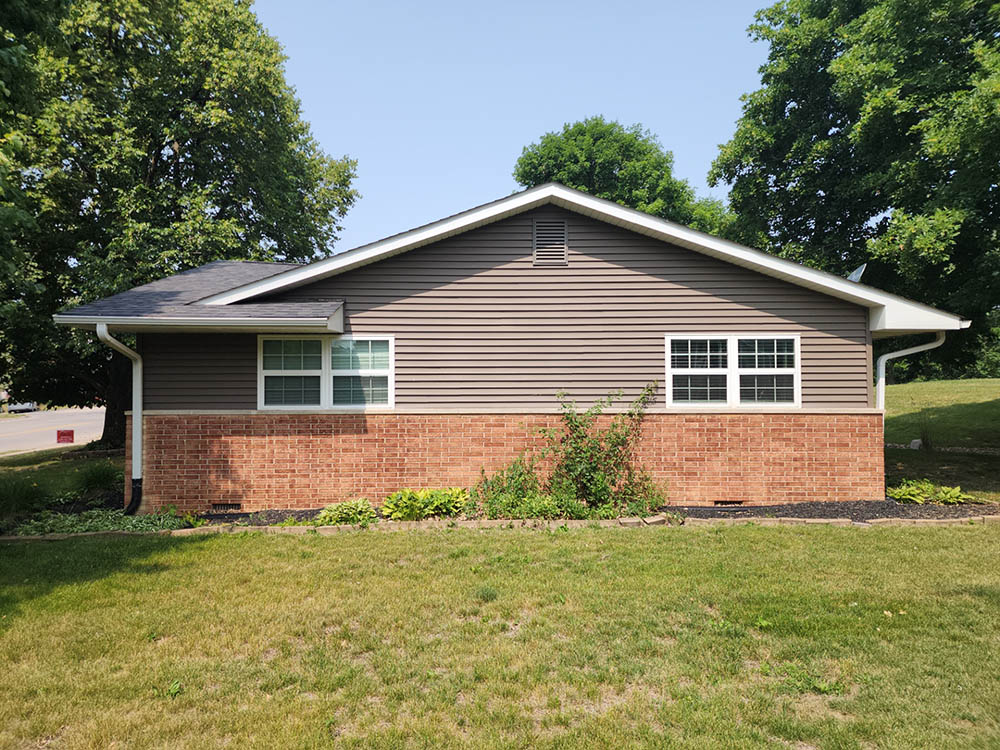
Not sure what your siding needs? Let us look, free
If you've got joints you're unsure about, a wall that's faded unevenly, popped nails, or a crack you were about to caulk, have someone who works on this product every season look at it before you buy materials.
We'll walk the whole house, check the joints, trim, fasteners, flashing, clearances and finish, tell you plainly what's maintenance and what isn't, and leave you with a written plan. No pressure, no charge, and if the answer is "your siding is fine, wash it and call us in three years," you'll hear that instead of a sales pitch.
What you're buying when you hire us for the work: we order the HZ5 product line engineered for this climate, cut it with shears or dust-collected saws rather than making a silica cloud in your yard, use ASTM C920 Class 25-or-better sealants that survive our freeze-thaw swings, and fasten and flash to the manufacturer's published spec so your warranty stays intact. Buckshot Exteriors has been family-owned and working on exteriors since 1979, and we're licensed in Wisconsin under the state's dwelling contractor requirements. Ask any contractor you're considering for their DSPS credential. A good one hands it right over.
Call (608) 909-9109 or request a free inspection. You can also see the full range of what we handle on the siding side, from targeted joint and board repairs to complete replacement.
Get a straight answer on your Madison roof
Wisconsin storm season and insurance non-renewal letters do not wait. Get a free, no-obligation inspection and an honest assessment of exactly what your roof needs, even if the answer is to wait.