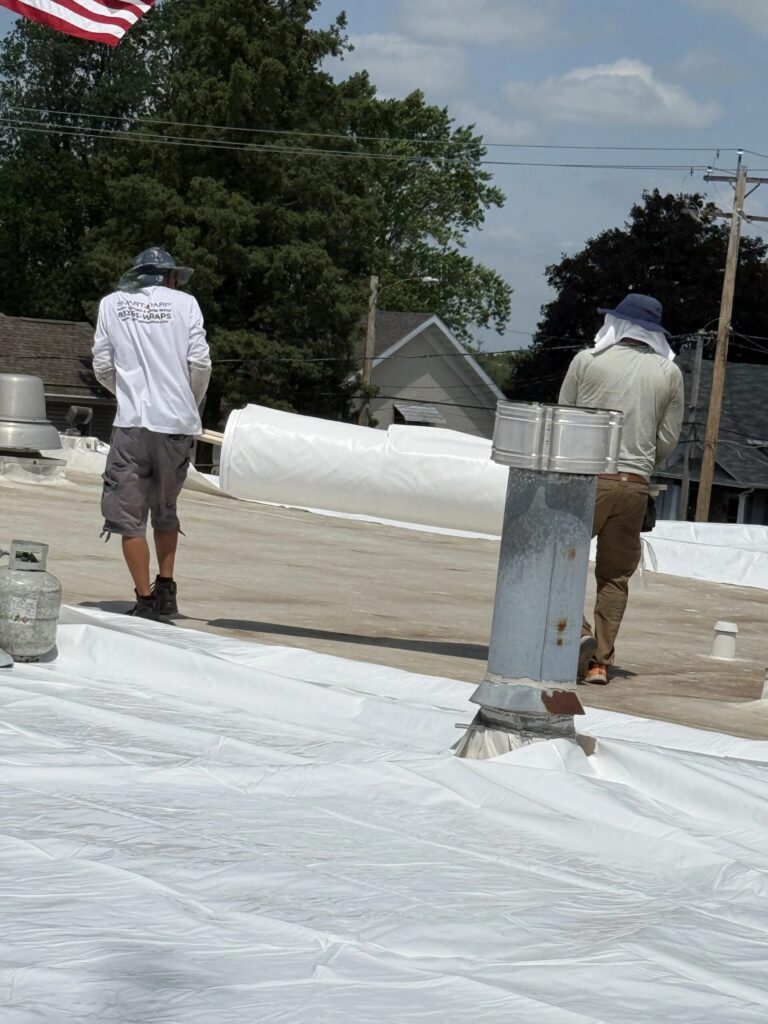
In early fall, while there is still working weather to fix what you find before the first hard freeze. A sound routine is twice a year plus after storms: fall to prepare, spring to find what winter broke, and a walk after any significant wind, hail, heavy snow or ice event.
Get My Free Estimate →Before the first hard freeze, walk your commercial roof and work through seven areas: drainage, membrane and seams, edges and parapets, penetrations and rooftop equipment, ponding and low spots, the ceilings inside the building, and roof access and safety. Photograph all of it with the date, then settle your snow plan before you need one.
That is the checklist in one paragraph. The rest of this article is the detail behind each item. It applies to the common flat and low-slope roofs: EPDM, TPO, PVC and modified bitumen. (Looking after a house rather than a commercial building? Use our homeowner roof maintenance checklist instead.)
Why fall is the window, not January
Cold makes small defects bigger and most repairs harder.
Water that gets into an open lap seam or a sunken pitch pan in October freezes inside the opening in December, expands and pries it wider. Every thaw lets more water in, and every freeze opens the gap a little further. On a flat roof that water has nowhere to go but down into the insulation.
There is a materials reason too. Many adhesives, sealants, primers and coatings have minimum application temperatures, and frost or a cold membrane gets in the way of a good bond. Winter repairs are real and sometimes necessary, but they often buy time until spring rather than fix the problem. The useful inspection happens while there is still working weather to act on what you find.
The pre-freeze commercial roof checklist
Work through these in order. Bring a camera, a notepad and a trash bag.
1. Drainage: clear every path water takes off the roof
Drainage comes first because blocked drainage causes the most winter trouble. A flat roof does not shed water; it routes water, and every part of that route has to be open before freeze-up.
- Roof drains. Lift the strainer dome, clear leaves, seed pods and sludge from the sump, confirm water actually goes down, and put the dome back securely. A missing strainer lets debris plug the pipe below instead.
- Clamping rings. Tight, with the membrane at the drain not wrinkled, cracked or pulling away.
- Scuppers. Clear the opening and check the metal lining for rust-through or open seams.
- Overflow drains and scuppers. These are the backup when a primary drain plugs with ice. Make sure they are not blocked or buried.
- Gutters and downspouts. Clean them, check the hangers, and confirm every joint is still connected.
- Where downspouts discharge. A downspout emptying across a sidewalk, entrance or parking stall builds a sheet of ice all winter. Redirect it now, while it is a roofing item and not a slip-and-fall.
For how water is supposed to leave a low-slope roof and why ponding shows up where it does, see drains, scuppers and ponding explained.
2. Membrane and seams
Walk the whole field, not just the area near the hatch. You are looking for anything that is no longer continuous.
- Open, lifted or wrinkled lap seams, especially at seam ends and where seams cross
- Punctures and tears, which tend to cluster along service paths and around rooftop units
- Blisters and ridges, which point to trapped air or moisture
- Splits, often running in a straight line over insulation joints
- Backed-out fasteners or plates showing through, and billowing on mechanically attached membrane
- Granule loss and open laps on modified bitumen, and displaced stone on ballasted roofs
Press on any soft or spongy area. Softness usually means wet insulation underneath, which is the most expensive thing you can find on a flat roof. Mark those spots and have them confirmed with a moisture survey rather than guessing.
3. Edges, parapets, coping and edge metal
The perimeter is where wind does its work, and a lifted edge is how a storm starts peeling a membrane.
- Edge metal and gravel stop: loose cleats, open joints, lifted sections
- Coping caps: missing fasteners, open joint covers, hardened or cracked sealant
- Parapet walls: spalled masonry and failed mortar joints
- Base flashing up the parapet: separated seams, a loose termination bar, dried-out sealant
- Counterflashing where the roof meets a taller wall
Fixing a lifted edge in October is a small repair. Fixing it in February usually means working over a cold, wet deck.
4. Penetrations, pitch pans and rooftop equipment
Every pipe, curb and unit is a hole in the roof, and there are usually more of them than anyone remembers.
- Pipe boots and stack flashings. Clamps tight, no cracks at the collar.
- Pitch pans and sealant pockets. The filler shrinks and dishes over time. If it has sunk below the rim it holds water, and in winter it holds ice. Have them topped off.
- Curbs under rooftop units. Check the base flashing all the way around, including the back side nobody walks to.
- Unit access panels. Latched and closed. An open panel in a blizzard packs the unit with snow, and the melt that follows can look exactly like a roof leak.
- Condensate and refrigerant lines. Supported, not rubbing the membrane, and draining where the water will not freeze in a corner.
- Foot-traffic damage. Service technicians are up there all winter. Look for scuffs, dropped screws and crushed spots between the hatch and each unit. Walkway pads cost far less than the leaks they prevent.
5. Ponding and low spots
Find the low areas while you can still see where water sits, and mark them on a roof plan.
Low spots matter twice in winter. Melt water collects there instead of draining, so they stay wet longest and freeze over and over. And standing water under snow concentrates weight on one part of the structure.
On a dry day, look for dirt rings, staining and debris lines that show where water sits. Check the seams and flashings inside each ponding area closely. If the low spot comes from a sagging deck or crushed insulation, it is a structural or design question for a roofer or engineer, not something to keep patching.
6. Inside the building: leak or condensation?
Part of every roof inspection happens indoors, and on-site staff can handle it between visits. Look for new or growing ceiling stains, damp top-floor walls near the roof line, ceilings below roof drains and their pipes, rust on the deck, joists or ductwork, and a musty smell in stairwells and mechanical rooms.
A winter ceiling stain is not automatically a roof leak. Warm, humid indoor air meeting a cold roof deck can condense, frost can build up under the deck and release in a thaw, and a sweating duct, a clogged condensate pan on a rooftop unit or a cracked drain pipe will all drip on a ceiling tile.
The usual tells: a roof leak shows up during or right after rain or melting and repeats in the same spot. Condensation shows up in cold snaps regardless of the weather, spreads more broadly, and often follows duct runs or sits under equipment. Sorting that out first gets the right trade on the job.
7. Roof access and safety
Only trained people with proper fall protection belong on a low-slope roof, and that goes double once there is frost, snow or ice on the membrane. Wet or frosted single-ply membranes are slippery.
- Keep the roof hatch secured so unauthorized people stay off
- Confirm anchors, guardrails and warning lines are intact
- Keep walkway pads clear, and add pads where you see worn paths
- Log who goes on the roof and when, so a new puncture can be traced
Snow hides skylights, curb edges, open hatches and the roof edge itself, which is a big part of why snow removal is hazardous work.
Not sure what you are looking at up there? Call (608) 909-9109. Our on-site inspection is free, and our commercial roof maintenance work covers exactly this list.
Snow, ice and uneven loads
Snow weight varies far more than most people expect. According to FEMA's Snow Load Safety Guide (FEMA P-957), per foot of depth, light fresh snow can weigh about 3 pounds per square foot, while wet, heavy snow can weigh about 21, and ice weighs far more. Rain falling on an existing snowpack adds load on top of that, so a warm, rainy stretch after a heavy snow deserves real attention.
Flat roofs have two added problems. Melt water collects in low areas instead of running off, concentrating weight. And snow drifts against parapets, at steps up to a higher roof section and around rooftop equipment, creating uneven loads that a uniform snowfall would not.
Nobody can tell you how much snow your roof can carry by looking at it. That comes from the building's design, and the original structural drawings or a structural engineer can answer it.
Ice on low-slope roofs
Flat roofs ice up too; it just gets missed because there is no row of icicles to see. Heat escaping through the roof melts snow in the middle of the roof, the melt runs toward a colder edge, and it refreezes at the parapet, a scupper or around a skylight. That ice blocks the water's path to the drain, and backed-up water finds flashing laps and termination bars and comes in at the wall line. Recurring winter leaks at the perimeter often trace back to this.
If a leak opens up in the middle of a January thaw, our 24-hour storm line is the same number: (608) 909-9109.
FEMA's warning signs of an overstressed roof
Train on-site staff to report these immediately:
- Sagging or drooping ceilings, or ceiling tiles falling out
- Sagging sprinkler lines or heads
- Popping, cracking or creaking noises
- A sagging roof deck or roof members
- Doors or windows that suddenly stick or will not close
- New cracks in walls or masonry
- Leaks, or water pooling where it normally drains
If any of those appear, get people out of the building and have a structural engineer or your local building official assess it. That is a life-safety call, not a roofing call.
If snow has to come off
FEMA's guide says removing snow from a roof is often more hazardous than helpful and should only be done by qualified people following safety protocols. If you hire it out:
- Confirm the crew is trained and insured for roof work, not just a plow crew
- Get the method in writing: no metal shovels, picks or ice choppers that can cut the membrane, and leave a thin layer of snow rather than scraping down to the roof
- Remove snow evenly rather than clearing one area and leaving a heavy drift beside it
- Keep drains and scuppers open, never pile snow on them, and keep the area below clear of people and vehicles
The better plan is usually keeping drainage open all winter so the roof drains as snow melts.
Want a straight answer on your roof?
We'll inspect it, document everything, and tell you honestly what you're looking at, even if the answer is patch it for now. No pressure.
Documentation and your roof warranty
Document the roof the same way every year and the file becomes an asset.
Dated photos and a repair log. Overview shots of each roof section, close-ups of every defect and repair, the same angles each year. Log the date, location, what was done and who did it. It is the most useful thing you can hand an adjuster, a manufacturer or the next property manager.
Read the warranty's maintenance requirements. A manufacturer warranty covers defects. It generally does not cover clogged drains, storm damage, foot traffic or damage by other trades, and many require periodic inspection, drain cleaning, prompt notice of damage, and repairs with approved materials by an approved contractor. Unauthorized patching can put coverage at risk, so read the maintenance section before anyone goes up with a caulk gun.
Inspect twice a year, plus after storms. Fall to prepare, spring to find what winter broke, and a walk after any significant wind, hail, heavy snow or ice event, while lifted edge metal and split seams are still a repair. If you are comparing formal maintenance contracts, here is what a commercial roof maintenance program typically includes. If the inspection turns up a roof near the end of its life, our guide to whether to coat or replace a commercial roof covers that decision.
Get it looked at before the freeze
A fall walk-through is one of the cheapest roofing decisions a property manager makes all year, because the roofs that fail in February are usually the ones nobody looked at in October.
Buckshot Exteriors has been family-owned since 1979, with offices in Madison, WI and Centerville, IA. We handle commercial roofing from scheduled maintenance through commercial roof repair and replacement, we meet your insurance adjuster on site when hail or wind is involved, and our 24-hour storm line covers the leaks that do not wait for business hours. You can read what clients say in our customer reviews.
Call (608) 909-9109 for a free on-site inspection before the first hard freeze.
Get a straight answer on your Madison roof
Wisconsin storm season and insurance non-renewal letters do not wait. Get a free, no-obligation inspection and an honest assessment of exactly what your roof needs, even if the answer is to wait.